Having already talked about the basis of this experiment in the previous blog. I decided just to take pictures of this time repeat, so show you more about the lab :)
 |
| Again and FPLC machine~ |
 |
| The FPLC & HPLC machines next to each other. HPLC machine is the white grey machine next to the FPLC machine. The FPLC includes the yellow machine next to it with many test tubes placed in it. |
 |
| General notes~ |
 |
| This is a magnetic hotplate stirrer. You basically place an metal stirrer at the bottom of the beaker and adjust the right knob for the speed of spinning the metal stirrer. |
 |
| This is a pH meter. the probe stuck into a test tube covered in film is the actual meter which you place in a solution. |
 |
| Super sensitive weighing scales, measuring to 4dp! It has doors on the top and both sides. You basically open both sliding doors on both sides and use one hand to spatula in the fine material into the dish and the other hand holding the tub of material. |
 |
| All the chemicals!!! |
 |
| Really cool pipette and futuristic looking. Used one for the first time today for pipette larger volumes of up to 10ml. Really cool you have to get use to the different types of pressure applied to the button. |
 |
| A pathway of the FPLC machine~ where the injected material travels along. |
 |
| Pump A of the FPLC! |
 |
| The injection valve of the FPLC, we use a syringe to inject our sample into this. |
 |
| The picture showing the different loops connecting to different compartments in the FPLC. |
 |
| Clearly, this is where the fractions from FPLC are collected...they are labelled in series as A1 A2 A3, B1, B2, B3...etc |
 |
| How we use the programme to set the parameters desired. |
 |
| Pump A again! |
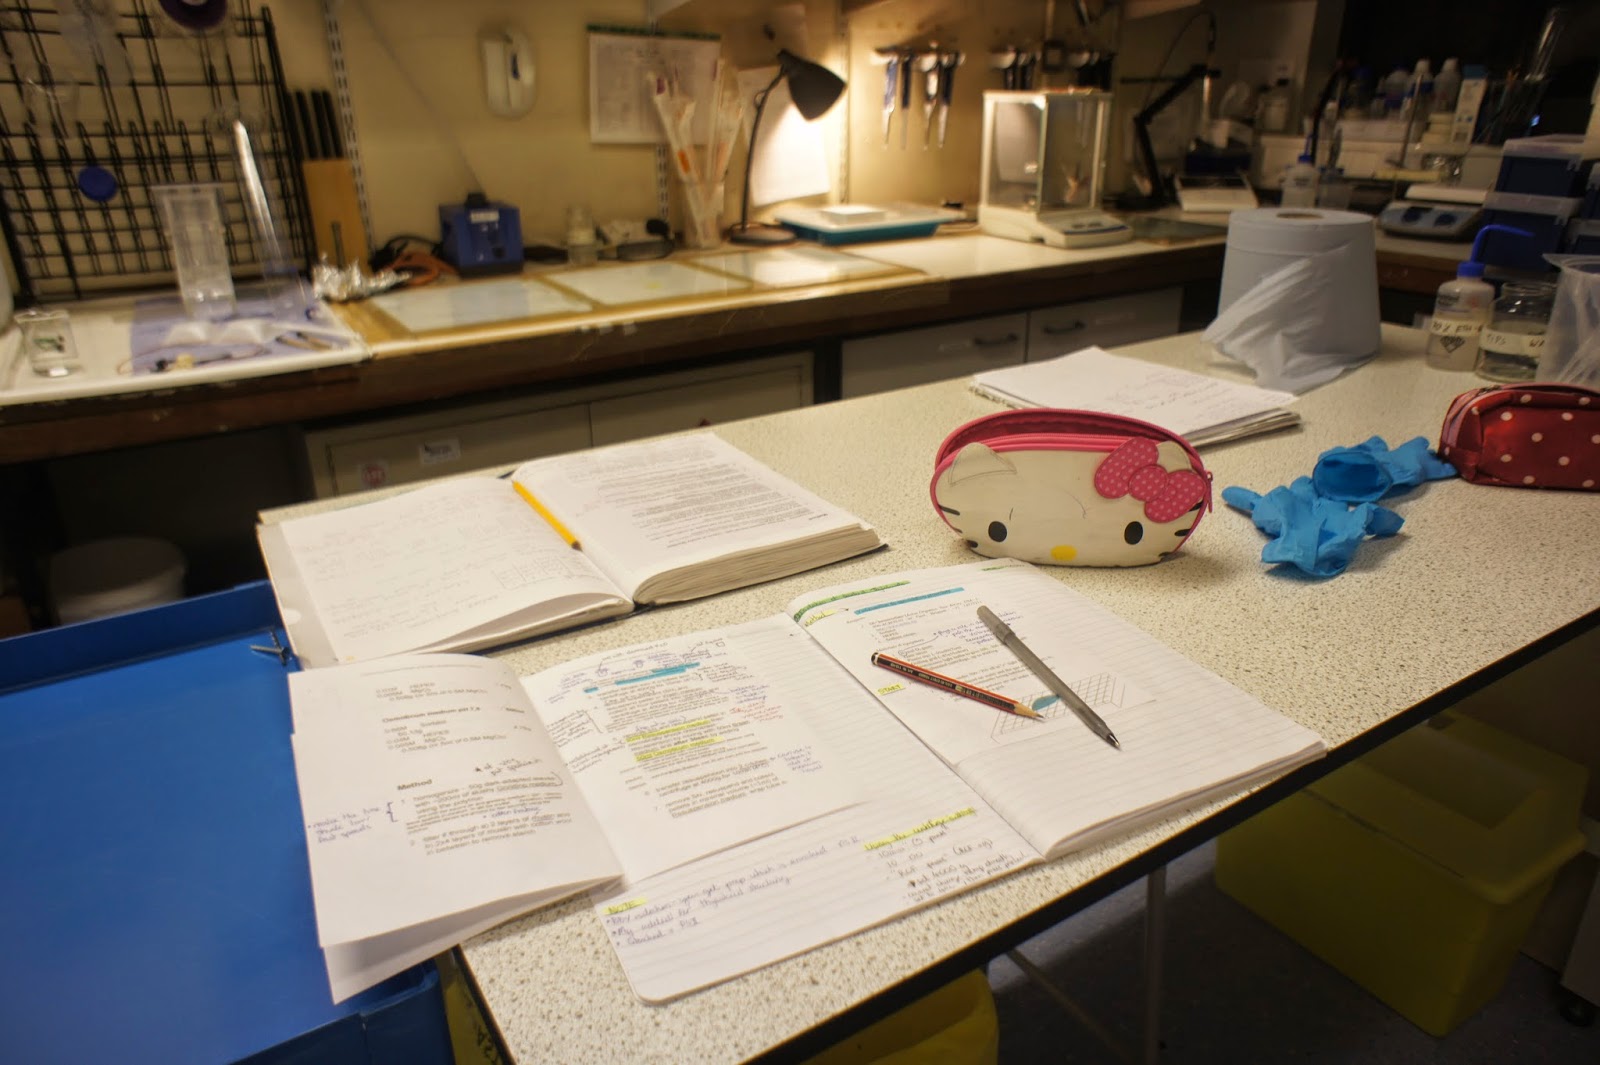 |
| My work desk in the lab! |
 |
| The superdex column, this time extremely green, probably due to the fact we increase our sample loop volume to 500ul! |
No comments:
Post a Comment